What is Ride With GPS?
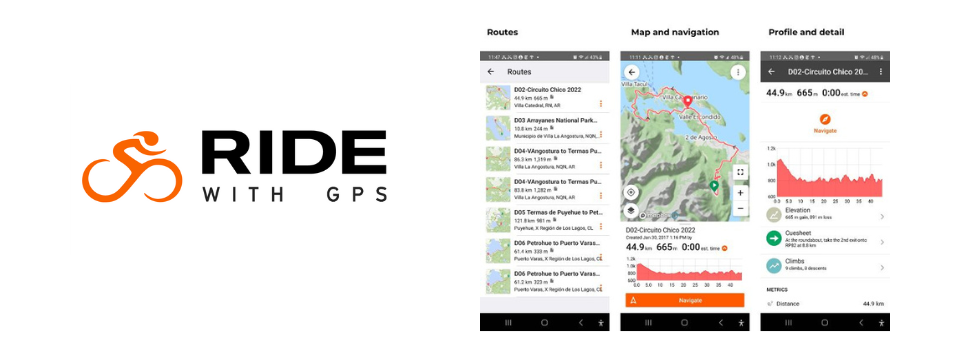
Similar to Strava and Map My Ride, Ride With GPS lets anyone map, record and share a bicycle ride. We have been using it for years to develop, record, and store our route library. In fact, the smart folks at RWGPS developed a premium version that helps cycling clubs, tour operators, and event organizers create and share one to multi-day rides and events, such as we do with the RWGPS Experience. For everyday cyclists who just want to map and record rides and access a tour-specific RWGPS Experience on RWGPS mobile app, the free version is likely all you need.
But let’s not get ahead of ourselves. We’ll go over directions for downloading the app on your phone and installing the Experience in the next installments of this series. The focus here is to familiarize you with what an Experience looks like once it’s loaded into your phone. Since we feature a lot of information in the RWGPS Experience, we want to give you the big picture of what the Experience contains before we drill down to the particulars.
“Experience” sections
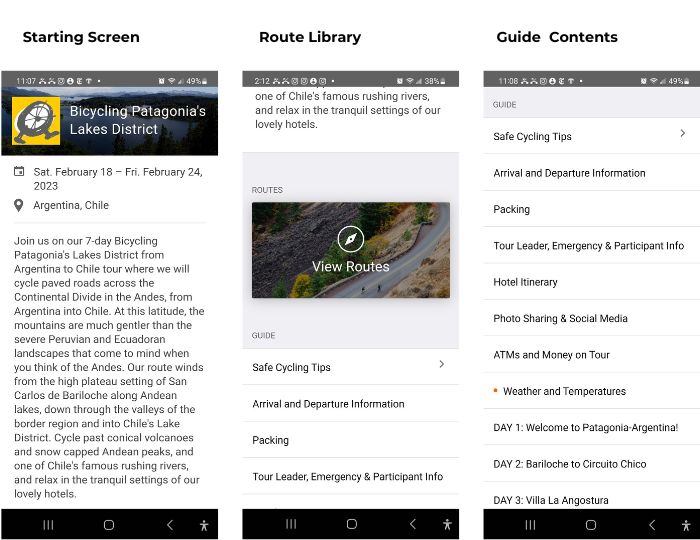
When you open a tour Experience, like the one below from Bicycling Patagonia’s Lakes District, you land on a welcome screen that lists the tour’s name, date, destination/country, and a description. When you scroll down the welcome screen you’ll see two main sections: Routes and Guide. You can click into the content for any section you want. If you see an “>” next to a section, that means there are subsections within that you can further click into.
The first main section you will see is the Routes. This summarizes your daily rides and from there you can click through to a specific day to see the map, mileage, and profile. You can even choose to “navigate” with the phone. When you select this option, you’ll get verbal instructions for each turn. In general, we do not recommend you use the navigation feature. It’s simply there for those who enjoy it, as are all the data points. We developed our chalk arrow system to enable you to rely as little as possible on technology while on vacation. If you take a Gravel Explorer tour we’ll provide GPS units for navigation. That said, if you use the navigation, RWGPS will record your mileage, pace and gain. Some of us like to use the “navigate” feature to see where we are in a ride at some point, but we don’t keep it running.
The Guide section of the Experience contains the majority of the information you will need for learning how to contact tour leaders, where you’ll stay each night, and what to expect every day. Whenever you see a blue link, that means you can click through to the internet. Several of the links we provide will drive you to your tour’s website, or to a PDF uploaded to our site. When you click the link you will be re-directed away from the RWGPS app, but you can easily return (we’ll cover that in a future post).
Here’s a close-up look at what were formerly handed out on tour as “day sheets.” You get to these by clicking on Day 1, Day 2, etc. In case you forget to read the note your tour leaders left you at the hotel’s front desk, just click through to your day for specific instructions.
In the next installment of this series we’ll look a bit more closely at a few Experience sections that are particularly helpful while on tour. We’ll also show you how to create your free RWGPS account and download the mobile app. You don’t need to be booked on an ExperiencePlus! tour to take advantage of the features the mobile app provides for your own training and weekend rides with friends.


